
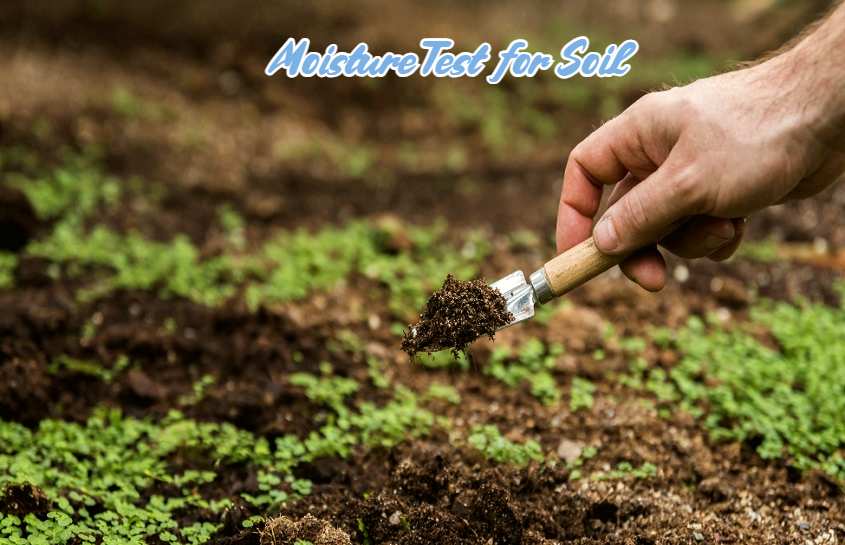
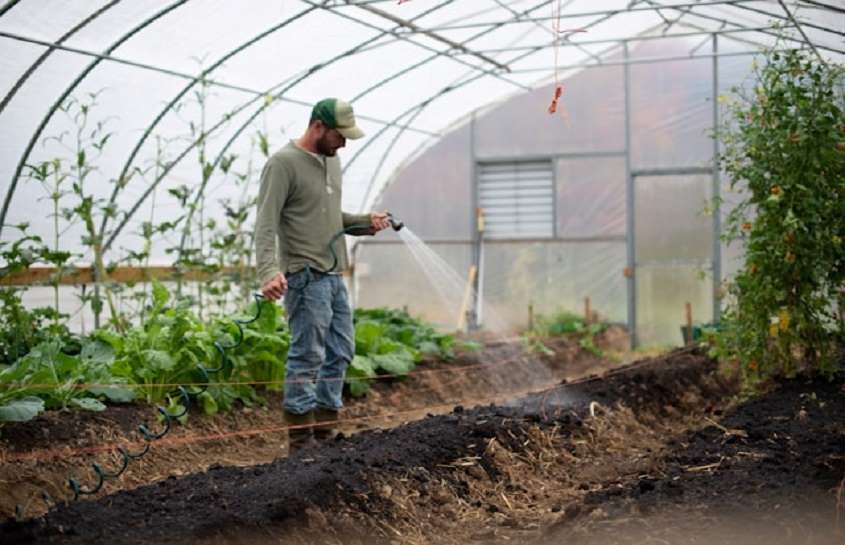
Whenever we talk about gardening or farming, one thing is most important – soil moisture. For healthy plants, it is not enough to just provide water; it is also important to understand how much water is being provided. Hence, doing a moisture test for soil is essential for every grower. If there is too much moisture in the soil, the roots can suffocate, and if there is less, the plant becomes dry. Only the right balance of moisture helps the roots to absorb nutrients. This test tells you the right time to water. Whether you are a home gardener or a professional farmer, the Moisture Test for Soil can be a game-changer for your plant health.
What is the Moisture Test for Soil?
Moisture test for soil is a process where we find out how much water is present in the soil. Soil moisture level is very important for the healthy growth of plants. If the soil is too wet, the roots can rot, and if it is too dry, plants have difficulty absorbing nutrients. Moisture testing for soil helps you understand when and how much water to give. This test can be done using simple tools, by feeling moisture meter, a wooden stick or the soil with your hand. Through this test, you can create an ideal water program for your garden or farm.
How to test the moisture of soil?
If you are gardening or farming, it is very important to know how to test soil for moisture. The moisture level of the soil directly impacts the health of the plant. Here are some simple methods that you can try at home:
1. Use of the Moisture Tester for Soil
Nowadays, digital and analog moisture testers for soil are easily available in the market. Just insert the device into the soil and check the reading. The meter shows dry, moist or wet zone. This method is accurate and quick.
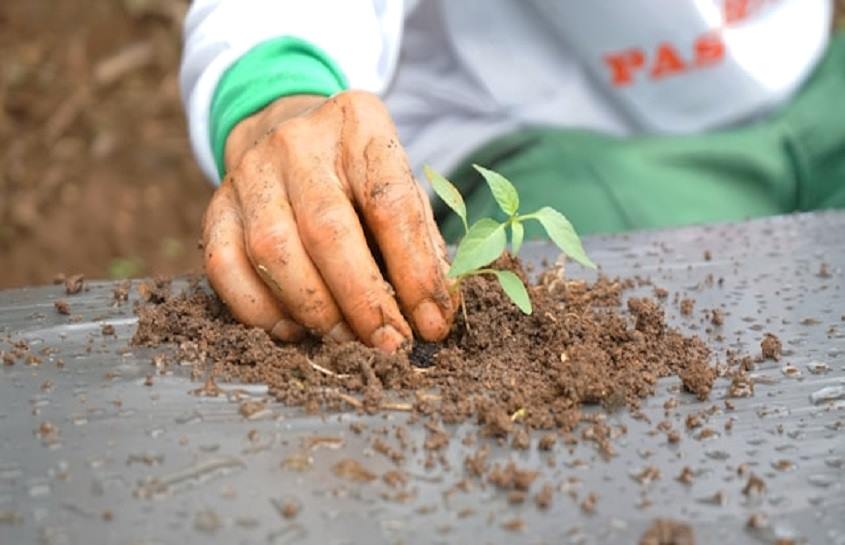
2. Finger Test (Feeling with hands)
Put your finger in the soil up to 2-3 inches. If the soil feels cold and slightly wet, then water is not needed. If it feels dry, then watering should be done.
3. Stick Test (Use of wood or pencil)
Insert a wooden stick or pencil in the soil. Take it out after 10-15 minutes. If the stick is wet or the soil is sticky, then the moisture is fine. If it comes out dry, then the soil is dry.
4. Visual Observation
Sometimes the color and texture of the soil also indicate moisture. Dark-colored soil is generally moist, and light-colored is dry.
If you regularly use a moisture tester for soil or learn how to test soil for moisture using these simple methods, your plants will grow healthier and stronger. This habit will make your gardening more productive.
What is the best moisture tester for soil?
When it comes to gardening or farming, a reliable soil moisture tester for plants can be a game-changer for you. The best moisture tester is one that gives an accurate reading, is easy to use, and is durable.
Digital Moisture Tester
This tester comes with an LCD display and shows you the exact percentage. Using it is simple – just insert the probe into the soil, take a reading. These testers usually tell whether the moisture content of the soil ranges from low, medium or high.
3-in-1 Soil Tester
This is a smart option that gives you readings of moisture, pH level and sunlight intensity – all in one. If you are a beginner, this all-in-one soil moisture tester for plants is perfect.
Analog Moisture Meter
Some people are not comfortable with digital tools. For them, analog tester is best. It has a needle dial which instantly tells whether the soil is dry or wet.
Moisture Content of Soil Range
- 0–10%: Extremely dry
- 10–20%: Dry, needs watering
- 20–40%: Optimal range for most plants
- 40%+: Too wet, may harm roots
For the healthy growth of your plants, it is important to get a good soil moisture tester for plants. Whether it is digital or analog, the tool should be such that it clearly indicates the moisture content of soil range. With accurate testing, you can easily avoid overwatering or underwatering.
How to analyze soil moisture data?
When you have done the Moisture Test for Soil, the next important step is to analyze that data. Only with accurate analysis can you improve your watering schedule and crop planning. Here we will tell you step-by-step how to analyze soil moisture data.
1. Using the Moisture Test for Soil Formula
First of all, the raw data has to be converted into percentage. For this, a simple Moisture Test for Soil formula is used:
Moisture % = (Wet Weight – Dry Weight) / Dry Weight × 100
- Wet Weight = When the soil is fresh (just collected)
- Dry Weight = When the soil is completely dried in the oven or the sun
With this formula, you will know how moist the soil is in exact numbers.
2. Creating a Moisture Test for Soil Report
When you take multiple samples (from different garden or field parts), their data should be recorded in a Moisture Test for Soil report. The report should include these details:
- Sample location
- Date & time of collection
- Wet & dry weights
- Calculated moisture percentage
- Crop type (if applicable)
- Recommendation (water required or not)
From this detailed report, you can compare which zone has more or less moisture.
3. Saving Moisture Test for Soil in PDF Format
To keep the data safe and for future reference, you can save your report in the Moisture Test for Soil PDF format. You can also easily share this with agronomists, farm consultants or team members.
You can type data in Excel or Google Sheets and use the “Save as PDF” option.
4. Analyze Trends Over Time
By taking weekly or monthly tests from one place, you can create a moisture trend chart. This analysis tells in which season the soil is dry and when it is too wet. On this basis, you can make an irrigation plan.
If you are doing farming or gardening seriously, then along with the test, its analysis is also necessary. Use the Moisture Test for Soil formula, make a report, and save the data in PDF format. This habit improves soil management.
How do you assess soil moisture?
To assess soil moisture, the soil is tested by touching it, taking readings with a moisture meter, or by the wet method.
Methods to Assess Soil Moisture
| Method | Description | Tools Needed | Accuracy |
| Touch & Feel | Soil is judged as wet or dry by touching it with hand | Hands | Low to Medium |
| Moisture Meter | Provides direct moisture readings from digital or analog devices | Moisture tester for soil | High |
| Stick Method | Moisture is checked by inserting a stick or pencil into the soil | Wooden stick or pencil | Medium |
| Oven Dry Method | Moisture percentage is determined by comparing wet and dry weight | Weighing scale, oven | Very High |
| Gravimetric Method | Lab-based, accurate method, mostly used for research purposes | Lab tools | Very High |
Conclusion
Moisture Test for Soil is an important practice for every farmer, gardener and plant lover. This test helps you understand whether the amount of water in the soil is correct or not. Too much water makes the roots of plants healthy while too little water dries them up. Maintaining moisture balance is important for all types of plants. Whether you use a digital moisture tester or simply check the soil by hand, regular testing maintains your plant health. If you analyze moisture data correctly and follow it, your plants will become healthy, strong and productive.